Have you ever wondered what happens behind the scenes after technicians fix your phone or laptop? At the repair shop, technicians don’t just patch things up and send you on your way. They take testing seriously because they know how frustrating it can be when a device fails again shortly after a repair. That’s why most professionals follow a process to ensure everything works as it should.
In this blog, let’s walk you through how technicians test devices after repair, so you can have peace of mind. No matter if it’s a cracked screen or a faulty battery, the goal is to hand back a device that feels as good as new.
Why Thorough Testing Matters
Let’s face it, repairs can be stressful. You’ve trusted us with your gadget, and the last thing you want is to discover an issue days later. Thorough testing after repair helps us catch any hidden problems early. It ensures the fix holds up under real-world use and prevents small oversights from turning into big headaches.
Technicians understand that your device is essential for work, staying connected, or just everyday life. By rigorously checking each one, they’ll build trust and deliver reliable results. How do they ensure repair quality? It starts with a commitment to detail and ends with the customer’s satisfaction.
The Step-by-Step Testing Process
Professionals approach every device with a structured plan. This keeps things consistent and thorough, no matter if it’s a smartphone or a laptop. Let’s break it down for you so you can see precisely what technicians do.
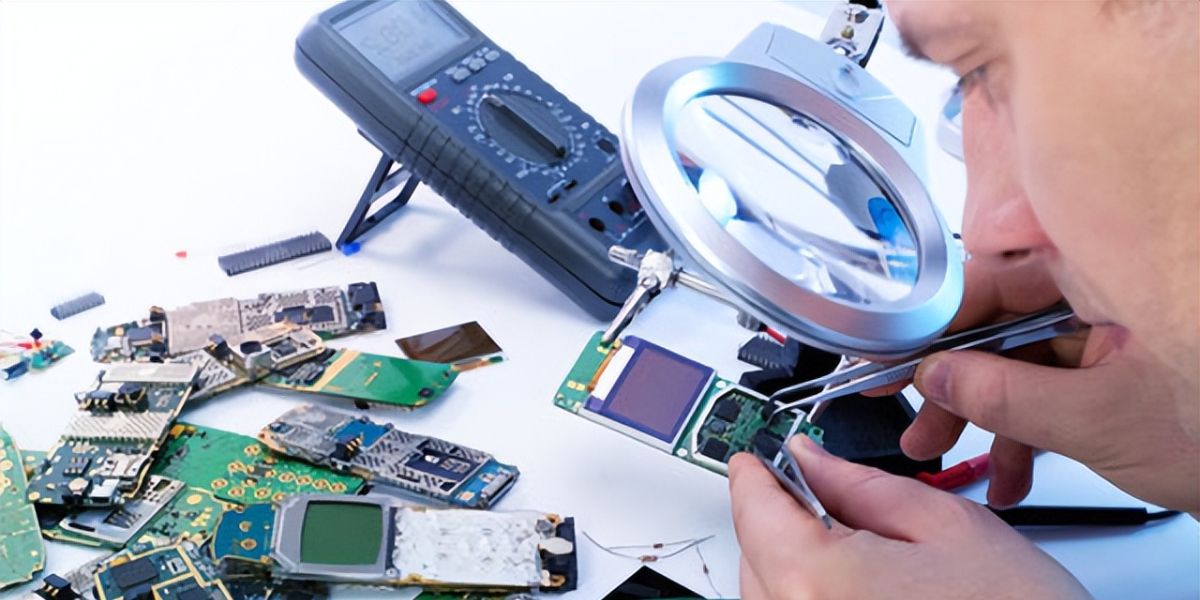
Initial Visual Inspection
First things first, the technicians give the device a good once-over. Tech experts look for any signs of damage they might have missed during the repair, like loose parts or scratches. For phones, technicians check the casing, buttons, and ports.
On laptops, they inspect the hinges, keyboard, and chassis. This step is important because even a tiny misalignment can cause issues down the line. They’ll make sure everything sits flush and secure before moving on.
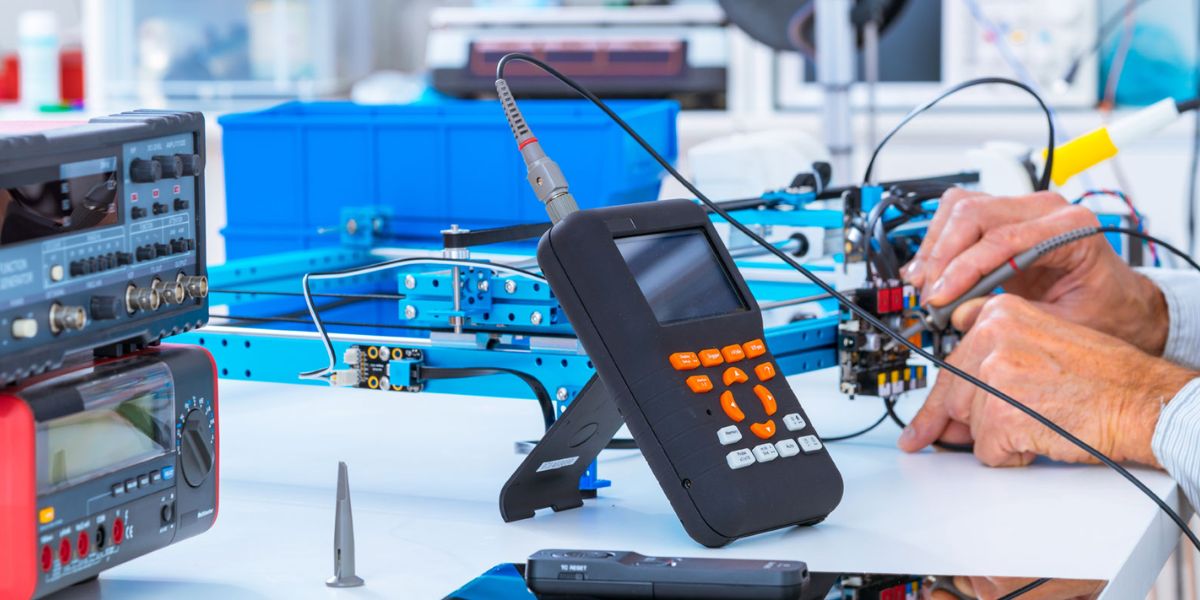
Power-On and Basic Functionality
Next, the experts power up the device. Does it boot up smoothly? They’ll watch for any unusual noises, vibrations, or error messages. For phones, they test the basic functions right away, swiping through screens, opening apps, and checking the volume. Laptops get a similar treatment: log in, open programs, and type on the keyboard. If something feels off, they dive back in to fix it. This early check helps us confirm the repair hasn’t affected the core operations.
Diagnostic Software Tools
Professionals rely on trusted diagnostic software to dig deeper. For Android phones, they use tools like the built-in code on Samsung devices and dialling #0# to test colours, sensors, and touch. iPhones get apps like Phone Diagnostics, which run checks on everything from the microphone to GPS. These tools give us quick, accurate results.
For laptops, experts will run programs like ‘Memtest86’ for RAM or ‘chkdsk’ for hard drives. They help us spot software glitches or hardware faults that aren’t obvious. They choose these because they’re reliable and help us verify repairs efficiently.
Specific Component Tests
Now, the technician gets into the nitty-gritty. Each part gets its own spotlight to ensure it’s working perfectly.
Screen and Display
Screens are often the reason devices come in for repair, so they test them extensively. Professionals will display solid colours to check for dead pixels or uneven brightness. On phones, experts will run touch tests by dragging fingers across the screen in patterns.
For laptops, they’ll open images and videos to inspect clarity and colour accuracy. They also check for flickering or ghosting. If they’ve replaced a screen, this confirms it’s integrated seamlessly.
Battery and Charging
Battery issues can sneak up on you, so pros will test charging speeds and capacity. They’ll plug in the device and monitor how quickly it charges, then run it down to see if it holds power as expected. Apps like Phone Doctor Plus help measure mobile battery health.
For laptops, they use built-in tools to check cycle counts and performance under load. They want to make sure you won’t be hunting for a socket every hour.
Cameras and Sensors
Cameras get a workout next. They’ll snap photos with front and rear lenses, checking focus, colour balance, and flash. Videos are recorded to test stability and audio. Sensors like proximity, gyroscope, and accelerometer are verified. Does the screen dim during calls? Does auto-rotate work? On laptops with webcams, they perform similar checks to ensure clear video calls without glitches.
Connectivity and Network
No device is an island, right? An expert will test Wi-Fi, Bluetooth, and mobile data connections. Pairing with headphones or speakers checks Bluetooth. Make calls and send texts on phones to confirm signal strength. Laptops get network speed tests and USB port checks. This ensures you can connect without frustration, whether streaming in Hove or working remotely.
Performance and Stress Testing
How to test phone performance? Technicians stress-test the device by running multiple apps or games to see if it heats up or slows down. For laptops, they use benchmarking tools to measure CPU and GPU under load.
This simulates daily use and reveals if the repair has impacted speed or stability. They’ll monitor temperatures and fan noise, too. It’s their way of ensuring the device handles whatever you throw at it.
Post-Repair Device Checklist
Before pros declare a job done, they run through a post-repair device checklist. This includes double-checking all tests, wiping any temporary data, and updating software if needed. Note down the results for the records, so if the customers have questions later, they can refer back. It’s a final safeguard to catch anything that they might have overlooked. The following checklist is key to the process, giving you a device that’s truly ready to go:
1. Visual and Physical Inspection
- Confirm device casing is properly reassembled with no gaps or loose screws.
- Check for any scratches, dents, or marks introduced during repair.
- Verify the screen and back panel are clean and securely fitted.
- Ensure no leftover adhesive, residue, or protective film remains.
2. Power and Charging Tests
- Confirm the device powers on and off normally.
- Test charging functionality with a certified cable and power source.
- Check the battery percentage increase over several minutes of charging.
- Inspect the charging port for a firm connection and no movement.
3. Display and Touchscreen Check
- Verify brightness adjustment and screen clarity.
- Test for dead pixels, flickering, or discolouration.
- Ensure touchscreen responds accurately across all areas.
- Confirm auto-rotate and screen timeout functions operate correctly.
4. Audio and Microphone Tests
- Play a sample sound to test speakers and headphone jack (if applicable).
- Check microphone clarity during a voice recording or call test.
- Test vibration motor and ringer volume.
5. Camera and Sensor Verification
- Open the camera app; test front and rear cameras for focus and image clarity.
- Verify flash, zoom, and video recording functions.
- Check proximity, light, and accelerometer sensors.
- Confirm fingerprint or face ID recognition (if available).
6. Connectivity Tests
- Connect to Wi-Fi and verify browsing or app loading.
- Check Bluetooth pairing with another device.
- Insert the SIM card to test mobile data, calls, and text messages.
- Confirm GPS accuracy using a map application.
7. Software and System Review
- Confirm the operating system loads without errors.
- Ensure all essential apps open and function properly.
- Perform a short performance check for lag or overheating.
- Apply available software updates if approved by the customer.
8. Data and Privacy Measures
- Delete all diagnostic or temporary data created during repair.
- Log out of any technician or service accounts used for testing.
- Confirm customer data remains intact and secure.
9. Documentation and Recordkeeping
- Record repair details, tests performed, and results.
- Note any observations or potential future issues.
- Attach internal job reference or technician signature.
10. Final Verification
- Perform one final power cycle (restart).
- Confirm overall device responsiveness.
- Wipe the device exterior with a clean microfibre cloth.
- Package securely or hand back to the customer with care instructions.
Ensuring Quality for Phones and Laptops
While many professionals focus on phones a lot, laptops get the same level of care. From RAM upgrades to hinge fixes, tech repair experts run tests tailored to each device. Many Hove residents rely on their tech for everything from remote work to family video calls.
This compassionate approach means technicians treat your device like their own, understanding the inconvenience of downtime. By combining hands-on checks with tech tools, tech repair experts deliver repairs that last.
Final Thoughts
Testing devices after repair isn’t just a box to tick; it’s the promise to you. Technicians go the extra mile to ensure everything functions smoothly, so you can get back to what matters without worry. If anything comes up, the professionals are here to help.
For those searching for reliable laptop repair shops, consider Fone World Hove. We offer expert services, including laptop LCD replacement, to get your device back up and running in no time.